Home > Configuration Portal > Account Management > Manage Roles > Create a New Role
Create a New Role
Follow the steps below to create a role:
-
Navigate to Administration > Account management > Roles.
-
Click the Create button.
-
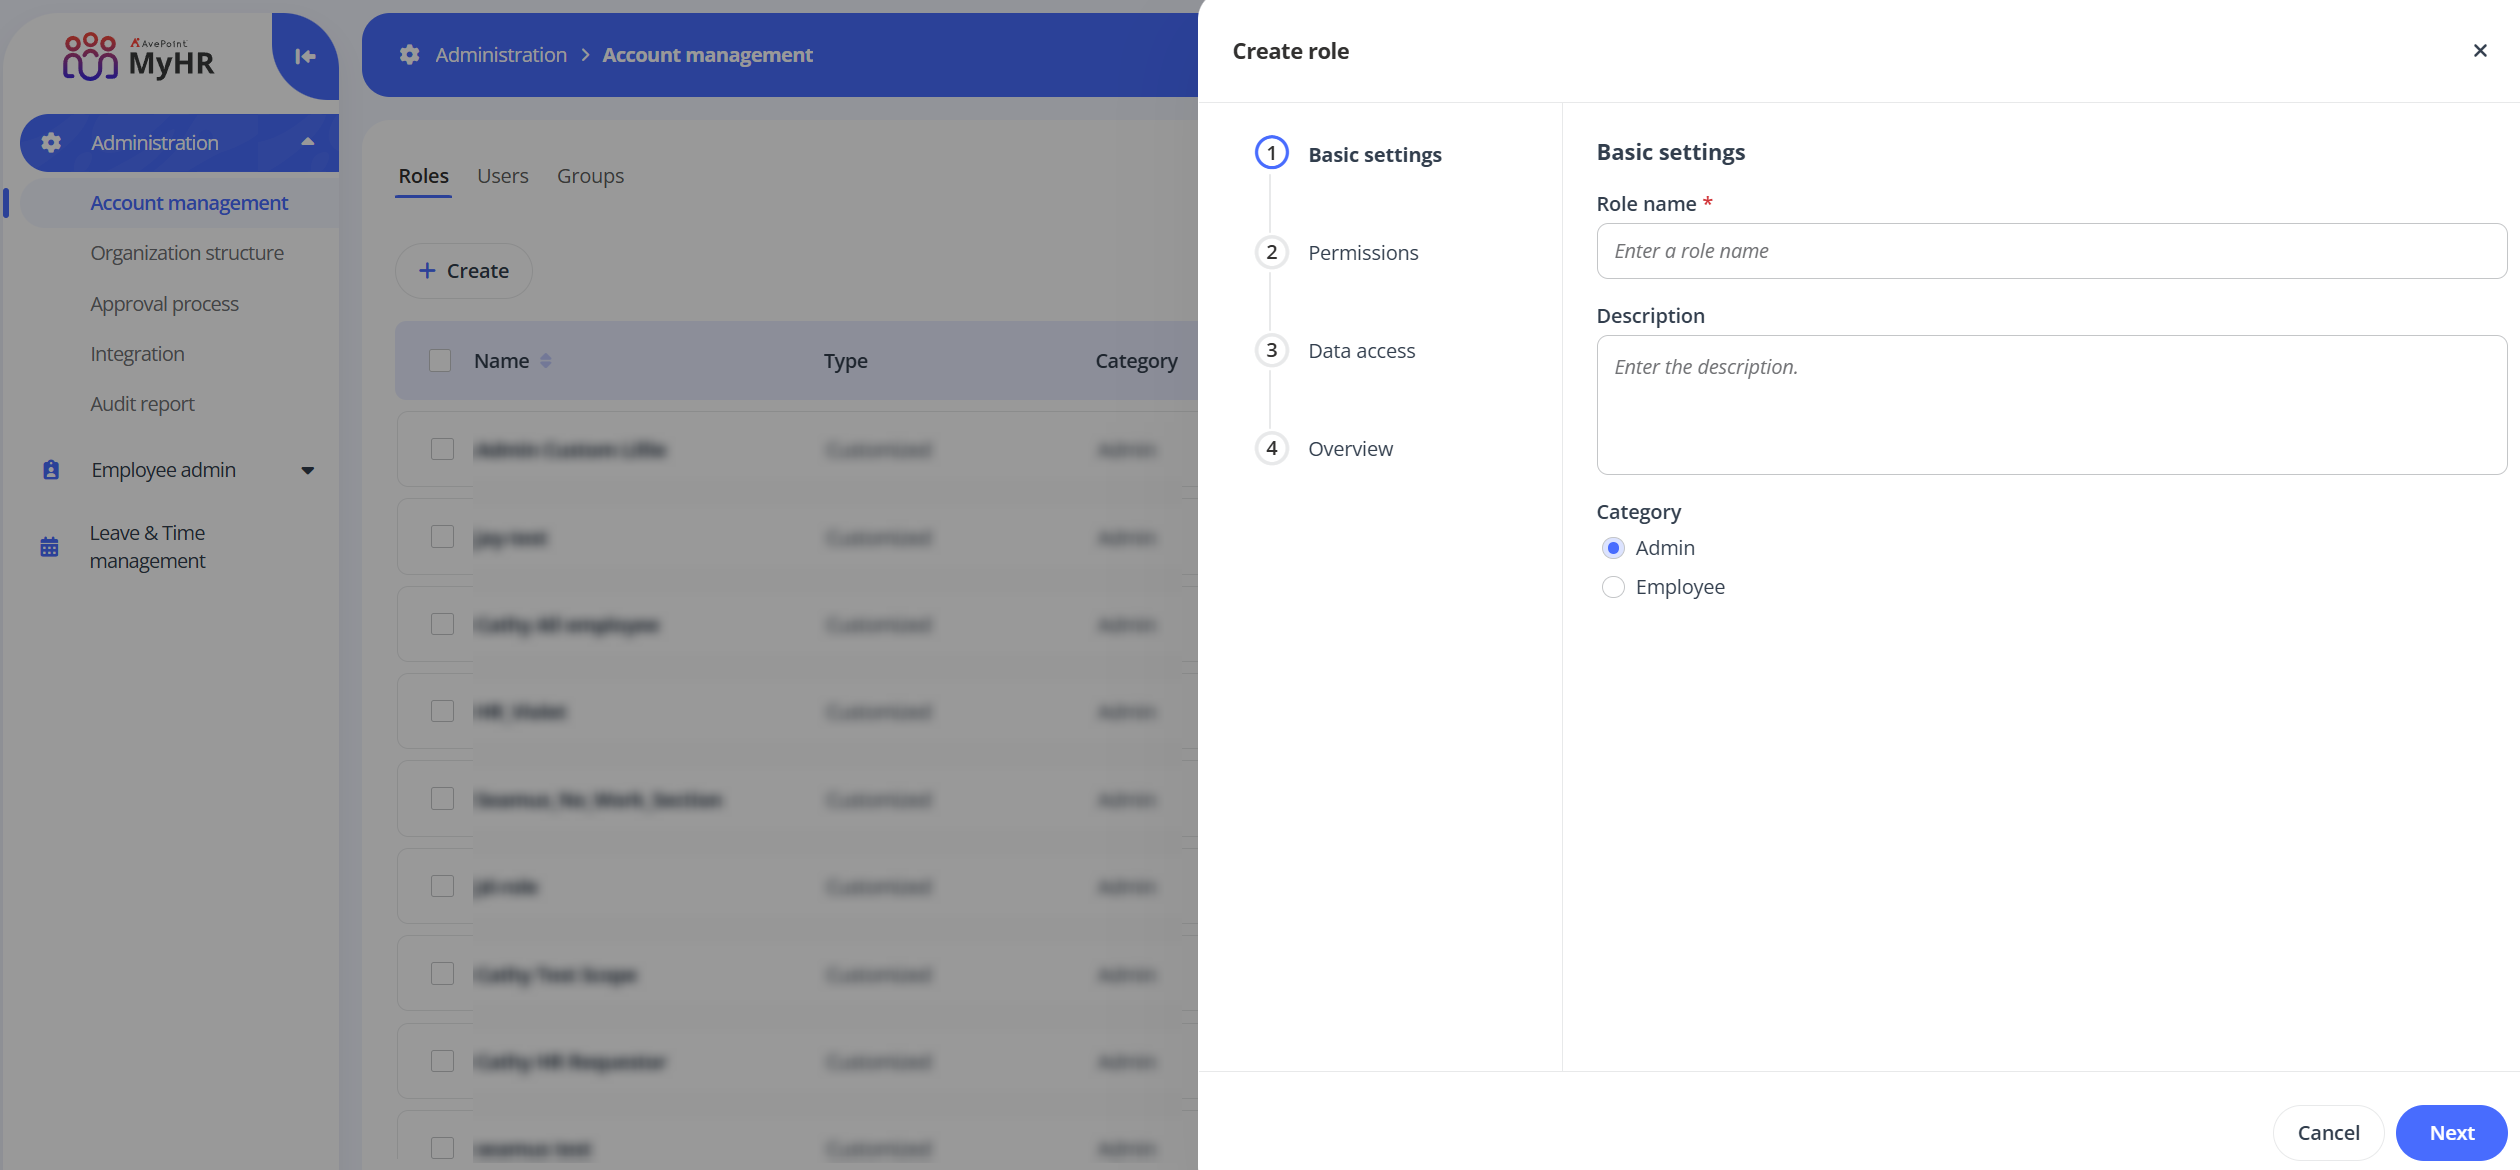
In the Basic settings step, complete the following settings:
-
Role information – Enter a name and description for the role you are creating. The description is optional.
-
Category – Select the category for the role.
-
If you select Admin, the role can have permissions to access both the configuration portal and the employee portal.
-
If you select Employee, the role can only have access to the employee portal. Select Cascade manager if you want this role to manage not only direct employees but also non-direct employees in the employee portal.
-
-
-
Click Next.
-
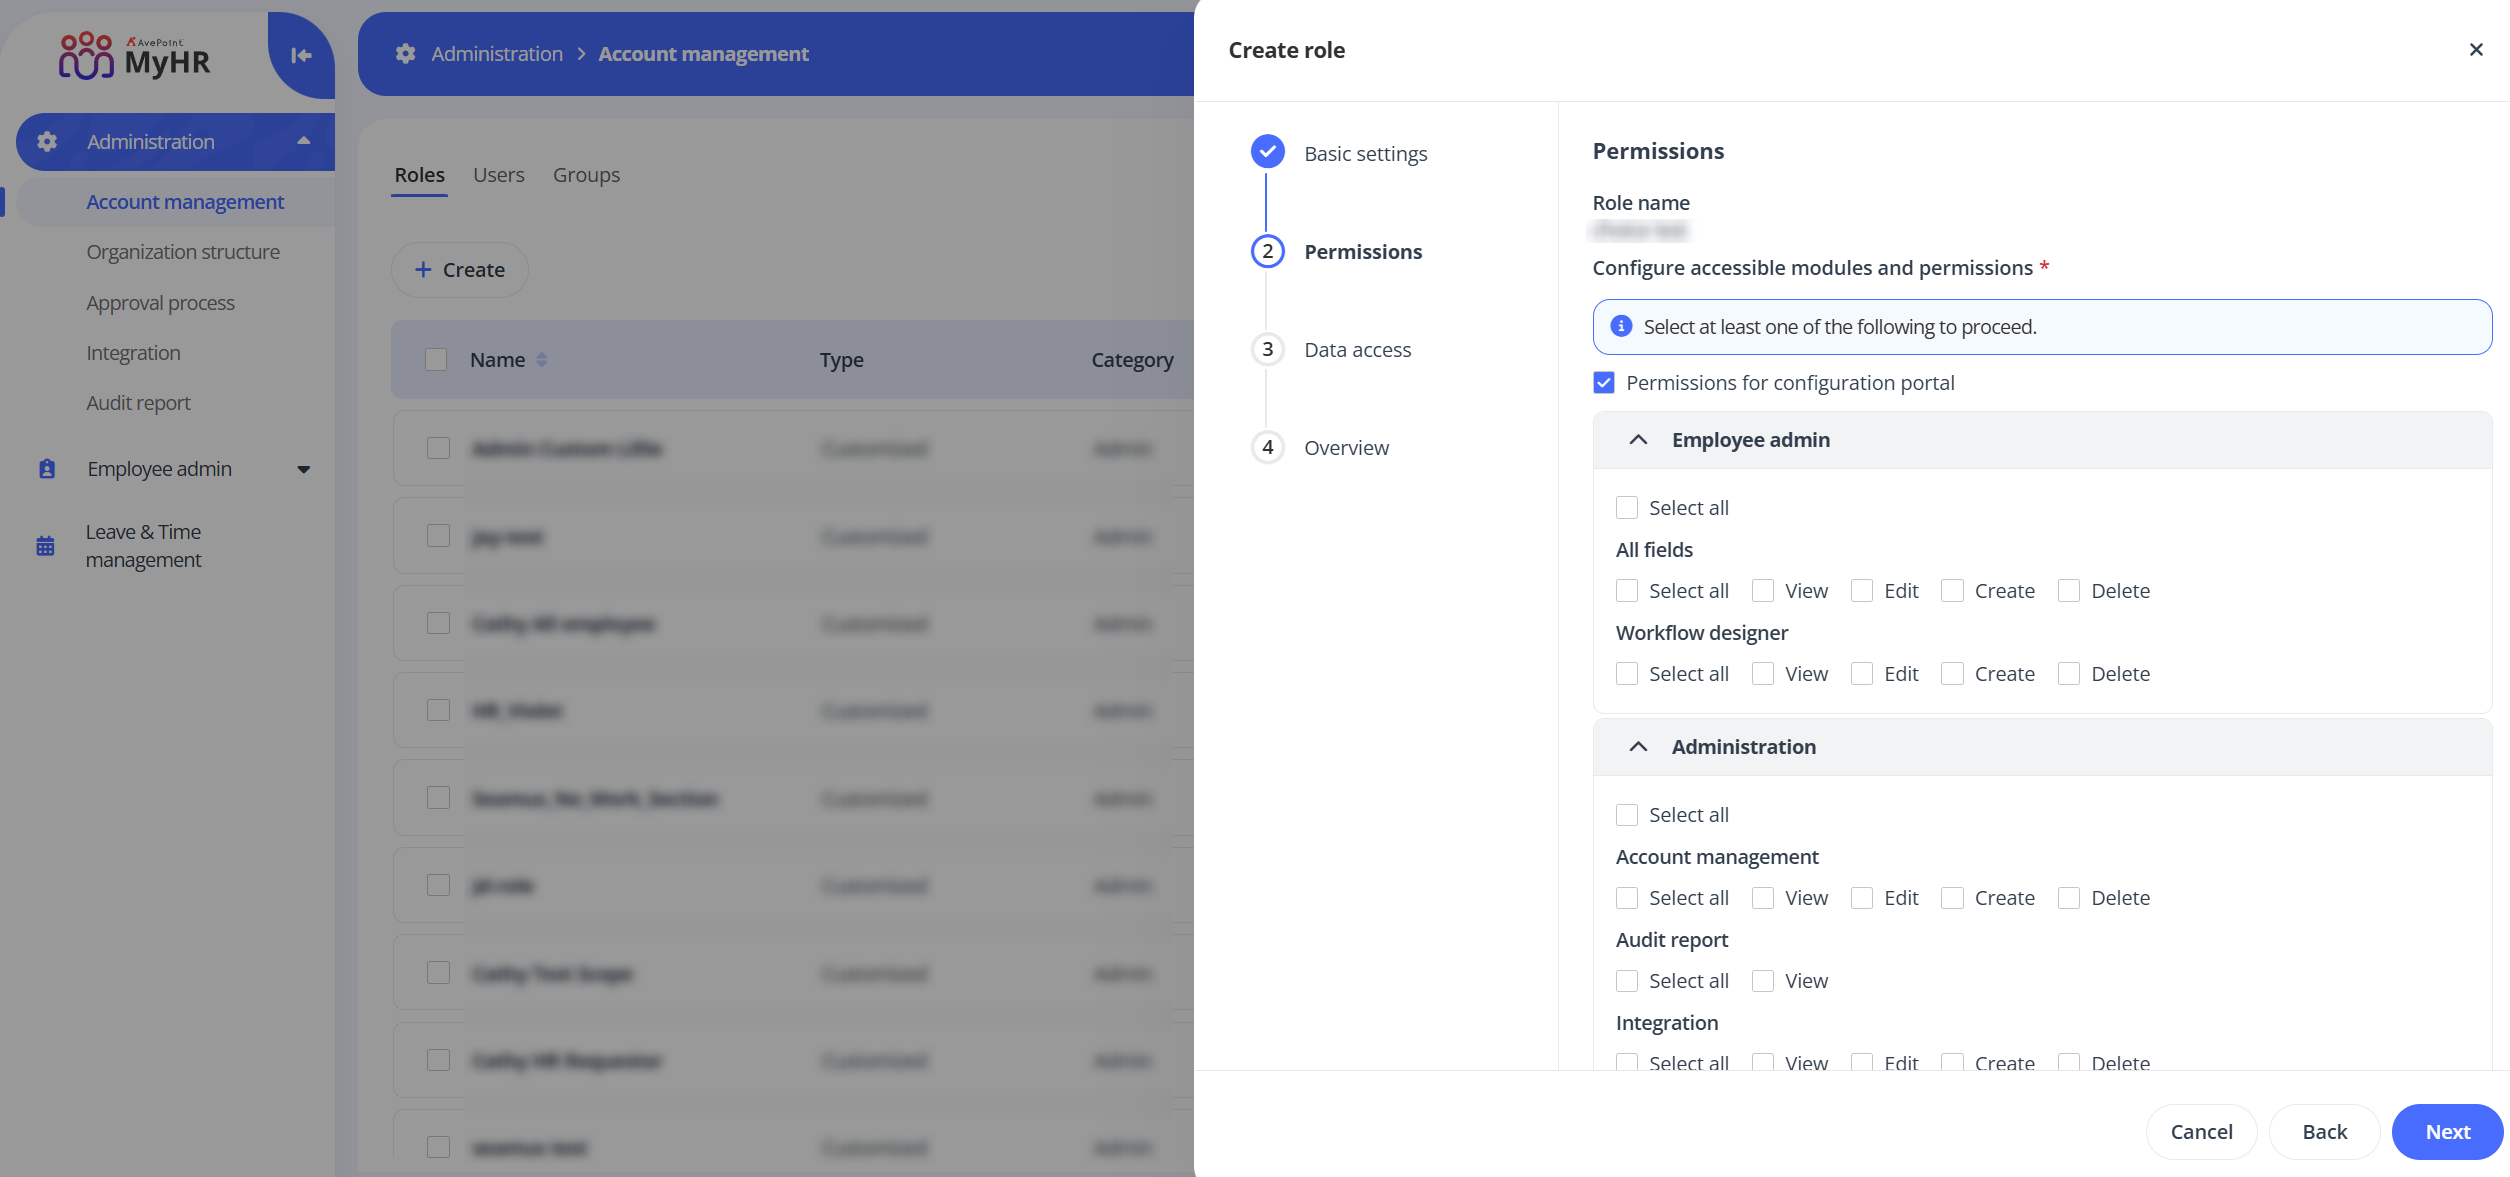
In the Permissions step, configure the specific permissions for the role.
-
If you select Admin as the category, follow the steps below:
-
Select a portal the role can access. Once a portal is selected, the modules within the selected portal will appear. Select permissions of each module to grant to the role as needed.
-
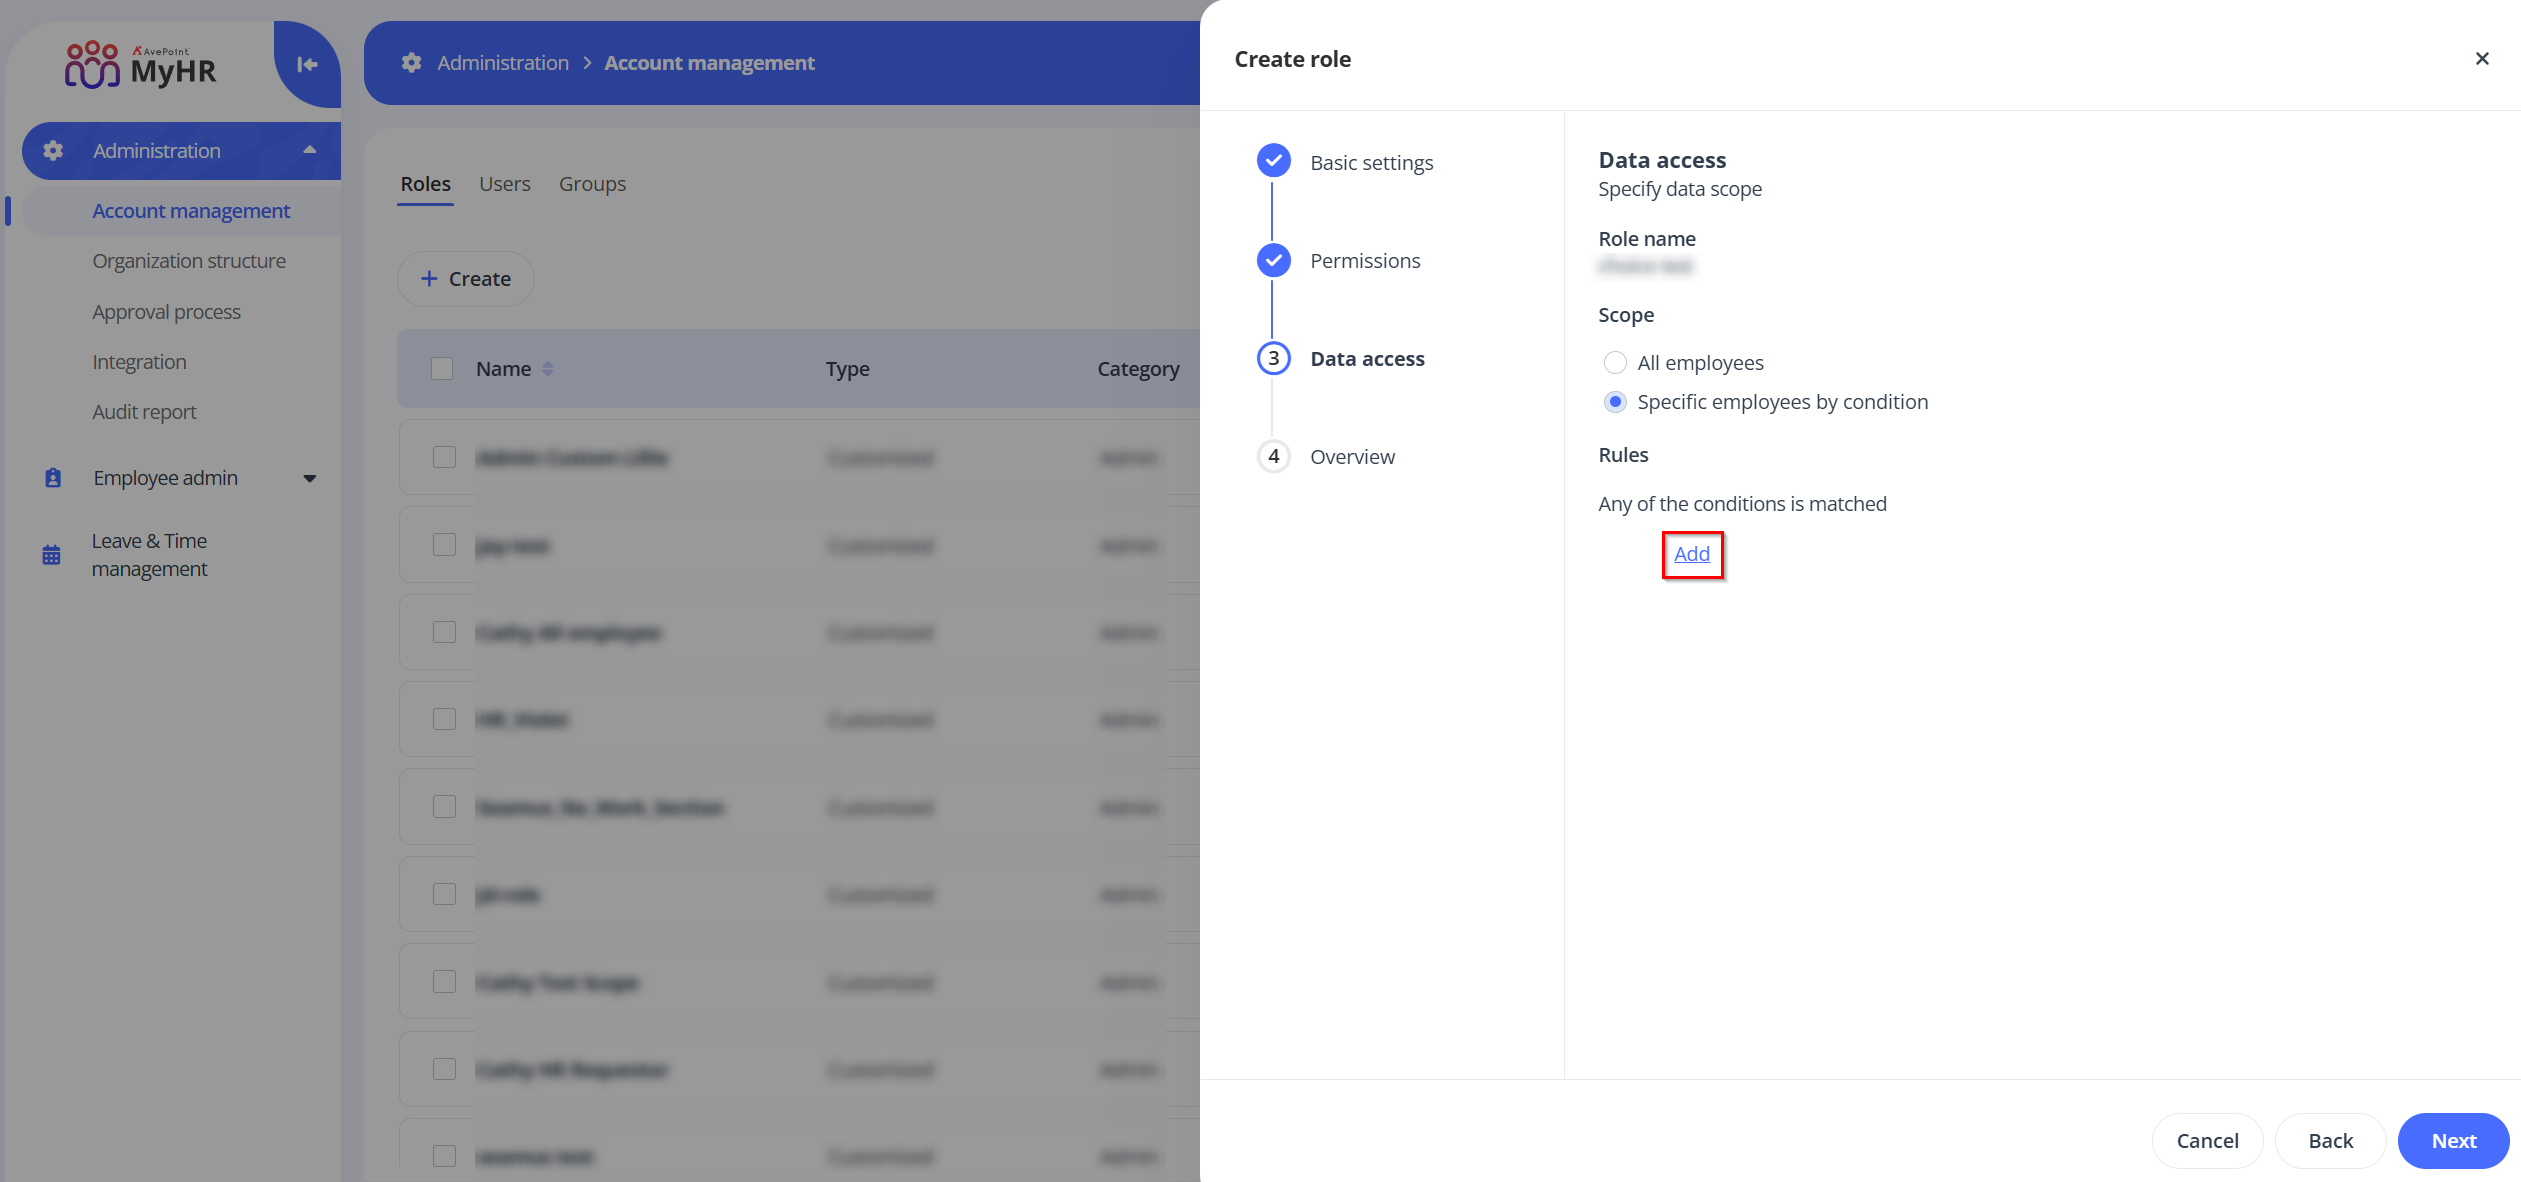
Click Next and you will go to the Data access step to specify the employee data scope the role can access.
-
All employees – The role can access data of all employees.
-
Specific employees by conditions – The role can only access data of employees matching the specified criteria. You can configure the rule conditions for the employees. Click Add to add multiple rules to filter the Legal entity or Office of the employees.
-
-
Click Next to review your settings.
-
-
If you select Employee as the category, select the accessible sections in the employee profile for the role. After configuring, click Next to review your settings.

-
-
Click Save to save this role.