Home > Configuration Portal > Leave and Time Management > Manage Leave Policies > Create a New Leave Policy
Create a New Leave Policy
Follow the steps below to add a leave policy:
-
Navigate to Leave & Time management > Leave policy and then locate the layer you want to add the policy.
-
Click Create.
-
In the Create policy panel, complete the following settings:

-
Policy information – Choose a leave type icon, enter a name for the policy, and add an optional short note to describe the policy.
-
Effective date – Select an effective date.
-
Take time-off in – Select a leave unit.
-
Options – Specify whether the policy includes holidays and weekends, and whether the negative balance numbers are allowed.
-
Cycle settings – Specify the cycle duration and the cycle start date.
-
Policy rule – Select a policy rule type.
-
Set max duration – Configure the maximum duration for the policy. You can also configure whether to enable the carryover settings. If you want to enable carryover, turn on the Enable carryover switch and then specify the maximum duration and expiration date.
-
Set an accrual rule – Complete the following configurations:
- Accrual rate unit – Select an accrual rate unit from the drop-down list.
- Grant leave for the hired month – Select the option to grant leave in the same month as hiring and select a cutoff date. Employees whose hire date falls on or before this configured day of the month will be eligible for leave in their hired month.
- Service length calculated by – If you select Day or Month as the accrual rate unit, this section is set to Integer year and cannot be changed. If you select Year as the accrual rate unit, you can select the integer year or civil year to calculate the service length.
- Rounding type – Select a rounding type.
- Accrual details – Click Add to add accrual details. Specify the employee level, service length, and maximum duration. The system will then automatically calculate the accrual rate based on the information provided.
- Carryover settings – Configure whether to enable the carryover settings. If you want to enable carryover, turn on the Enable carryover switch and then specify the maximum duration and expiration date.
-
No limitation – No limited rules for the policy.
-
-
Click Next, and you will go to the Advanced settings step.
-
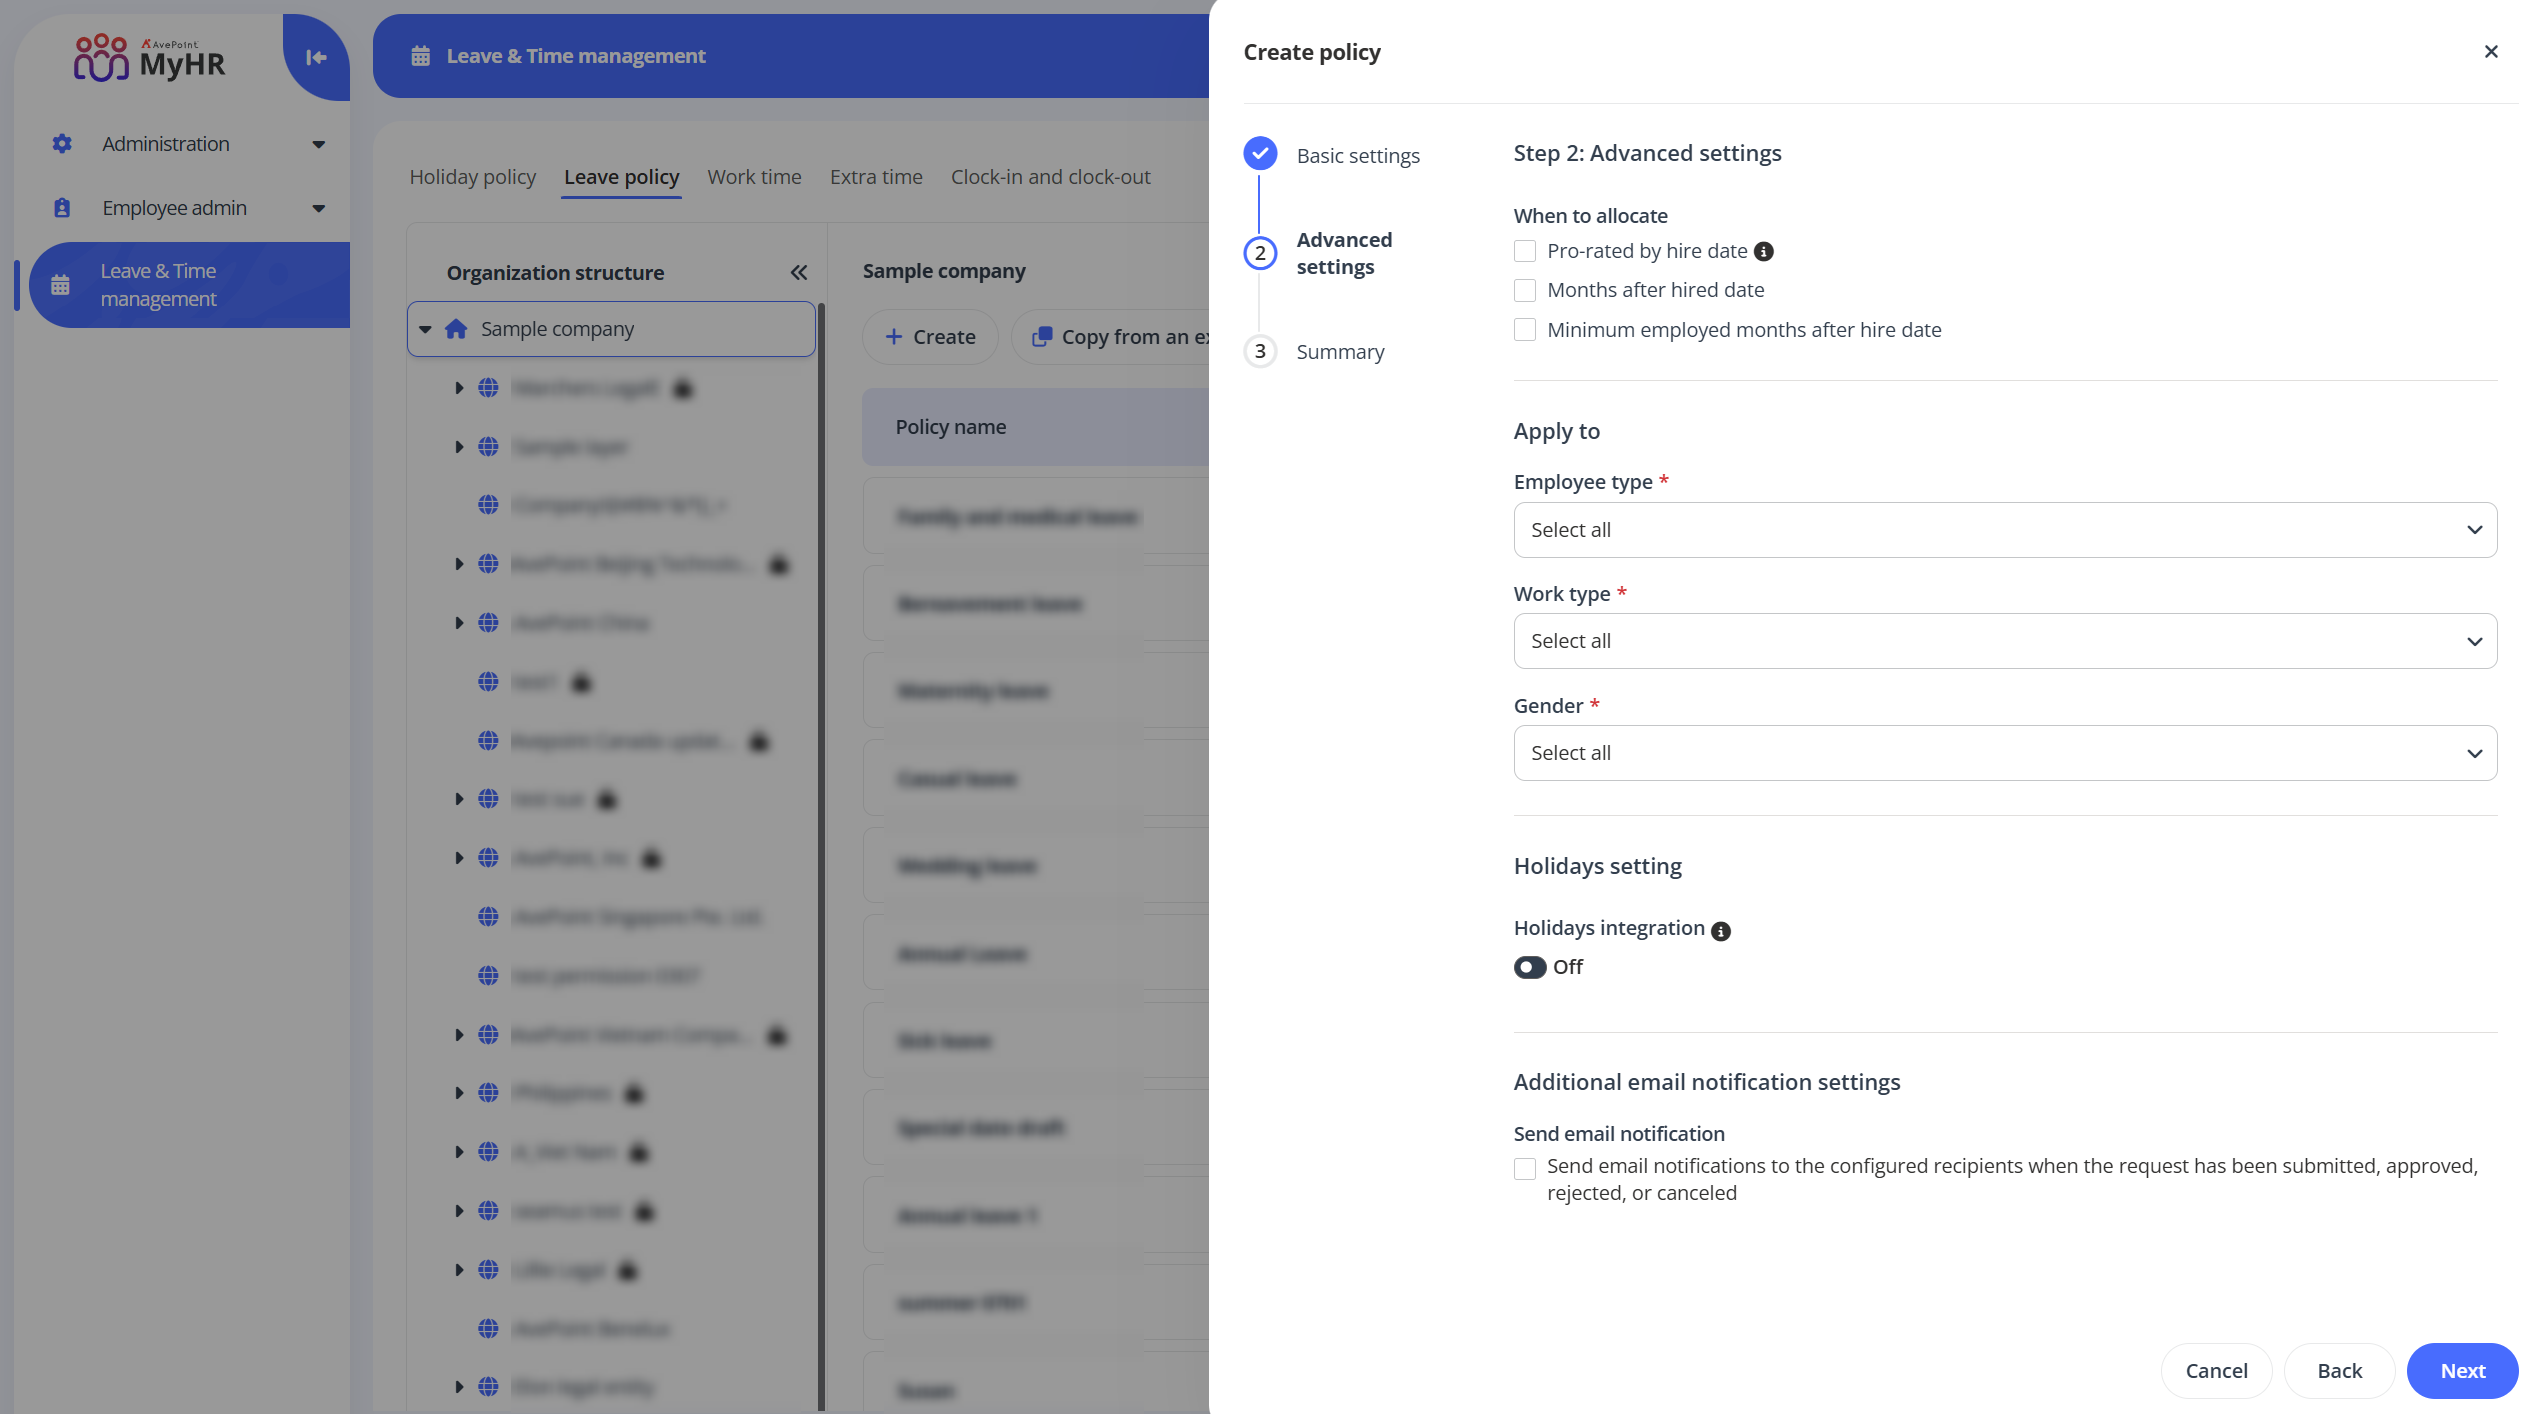
In the Advanced settings step, follow the steps below:
-
If you select Set max duration or Set an accrual rule as the policy rule, complete the following settings:
-
When to allocate – Select when to allocate this policy.
NOTE
When the Set an accrual rule is selected as the policy rule, the Pro-rated by hire date option becomes unavailable. -
Apply to – Select employee type, work type, and gender to define the employee scope to which the policy will apply.
-
Holidays integration – You can turn on the Holidays integration switch to select holidays to convert as PTO.
-
Additional email notification setting – By default, the email notification will be sent to approvers when the request has been submitted, approved, rejected, ore canceled. Select the Send email notification option to configure the Cc and Bcc recipients for the email notification.
-
-
If you select No limitation as the policy rule, complete the following settings:
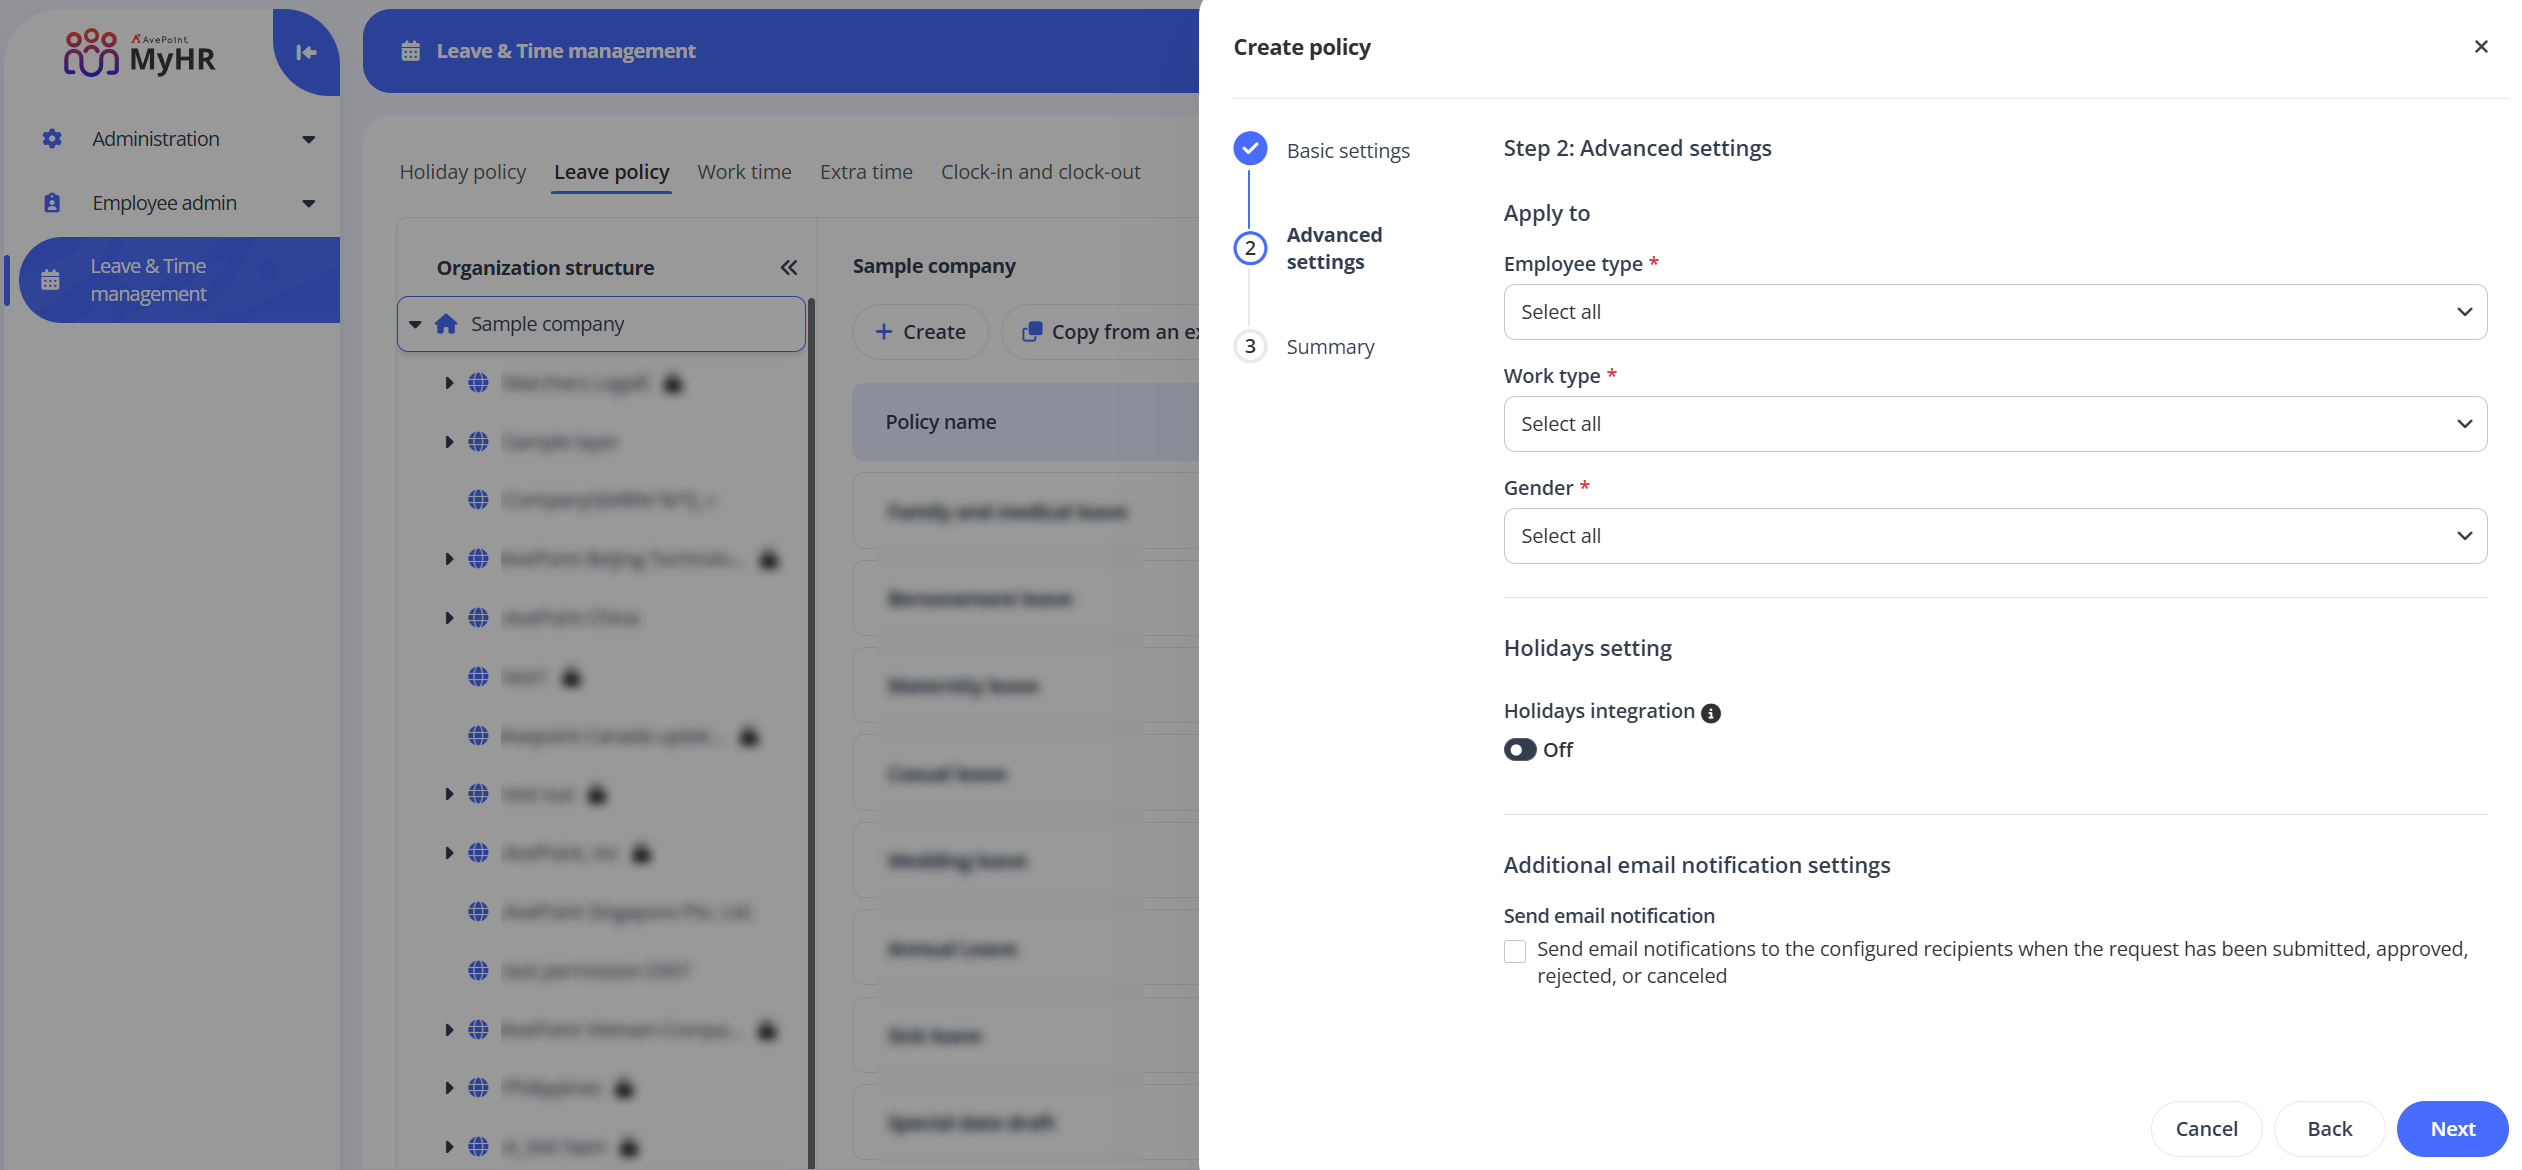
- Apply to – Select employee type, work type, and gender to define the employee scope to which the policy will apply.
- Holidays integration – You can turn on the Holidays integration switch to select holidays to convert as PTO.
- Additional email notification setting – By default, the email notification will be sent to approvers when the request has been submitted, approved, rejected, or canceled. Select the Send email notification option to configure the Cc and Bcc recipients for the email notification.
-
-
Click Next to review your settings.
-
Click Save to save this policy.