Home > Configuration Portal > Organization Structure Configuration > Configure Organization Structure
Configure Organization Structure
Begin by defining overall structure, which establishes a foundational layer structure. Once the framework is in place, you can add specific layers to create a comprehensive and structured organizational model.
Define Overall Structure
Follow the steps below to define the overall structure for your organization:
-
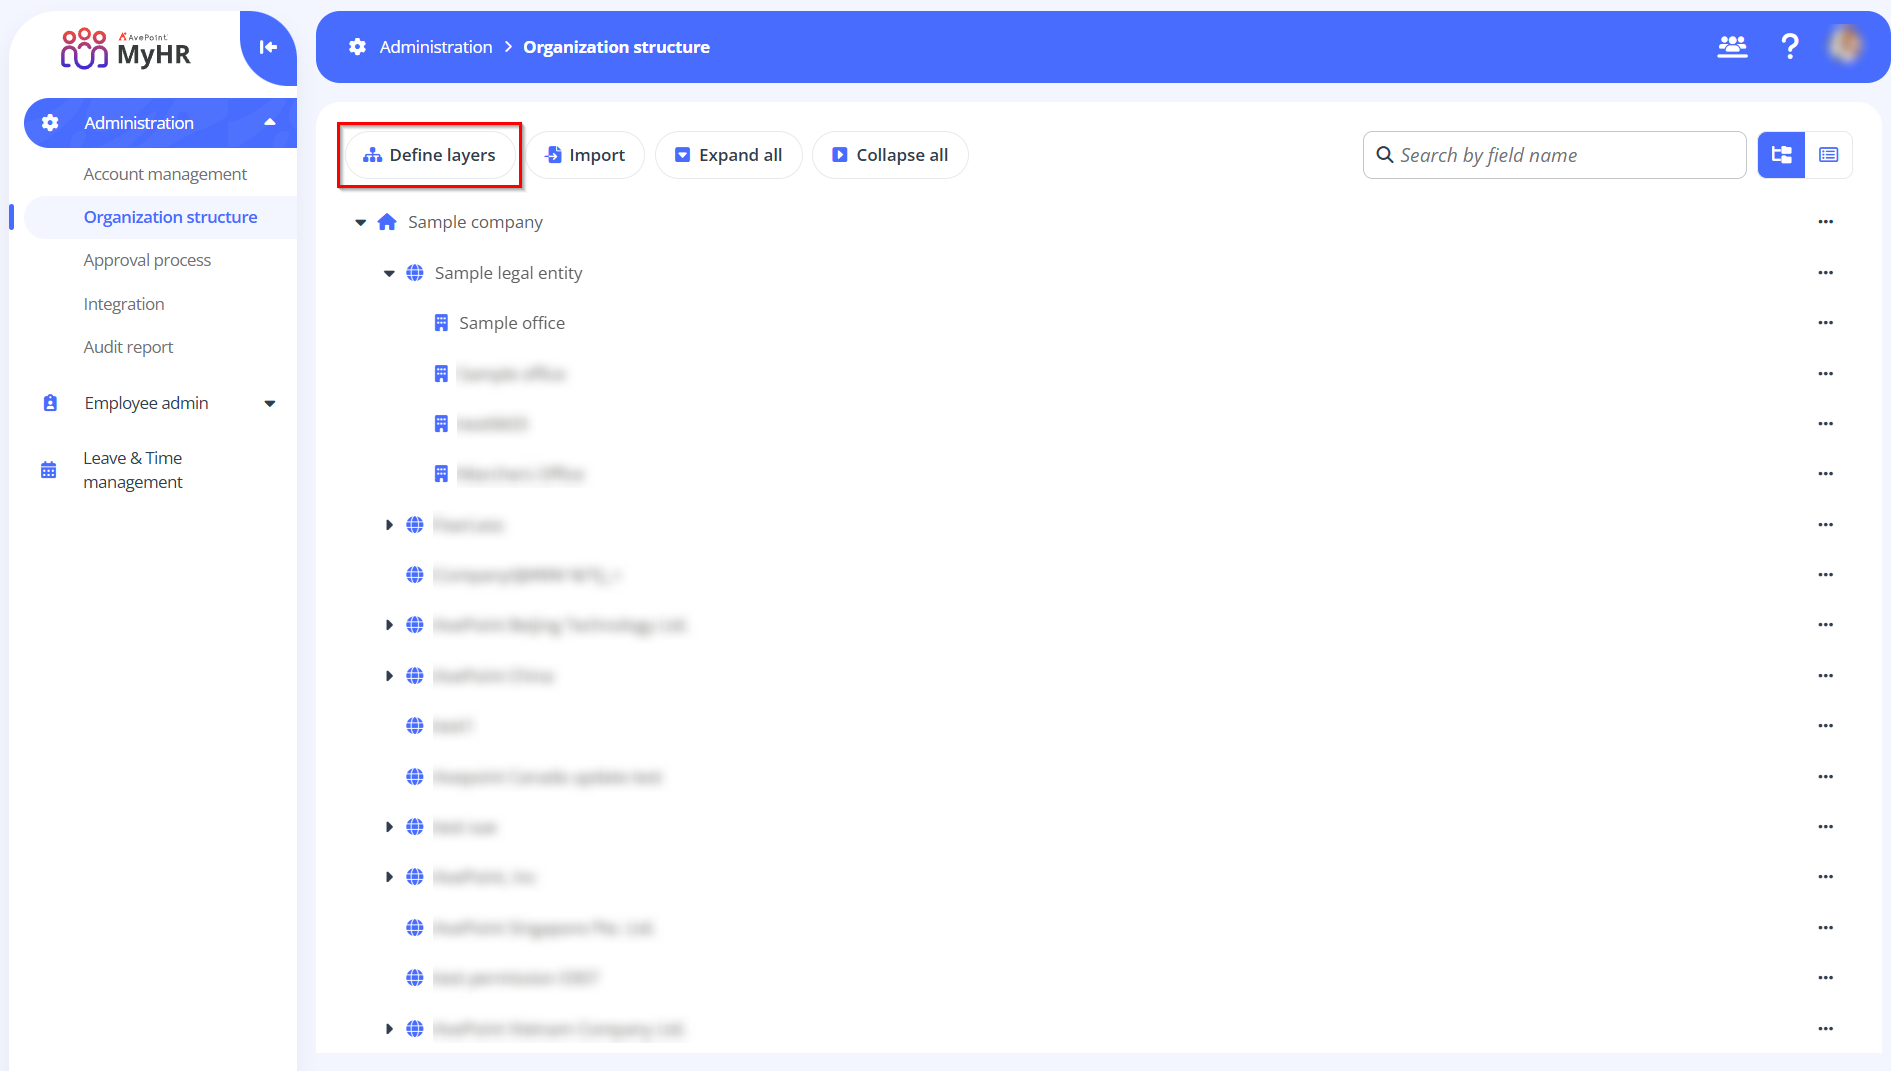
Navigate to Administration > Organization structure and then click the Define layers button on the command bar.
-
In the Define layers panel, click Add to add multiple layers. Select Legal entity, Office, or Department from the drop-down list to add as a layer.
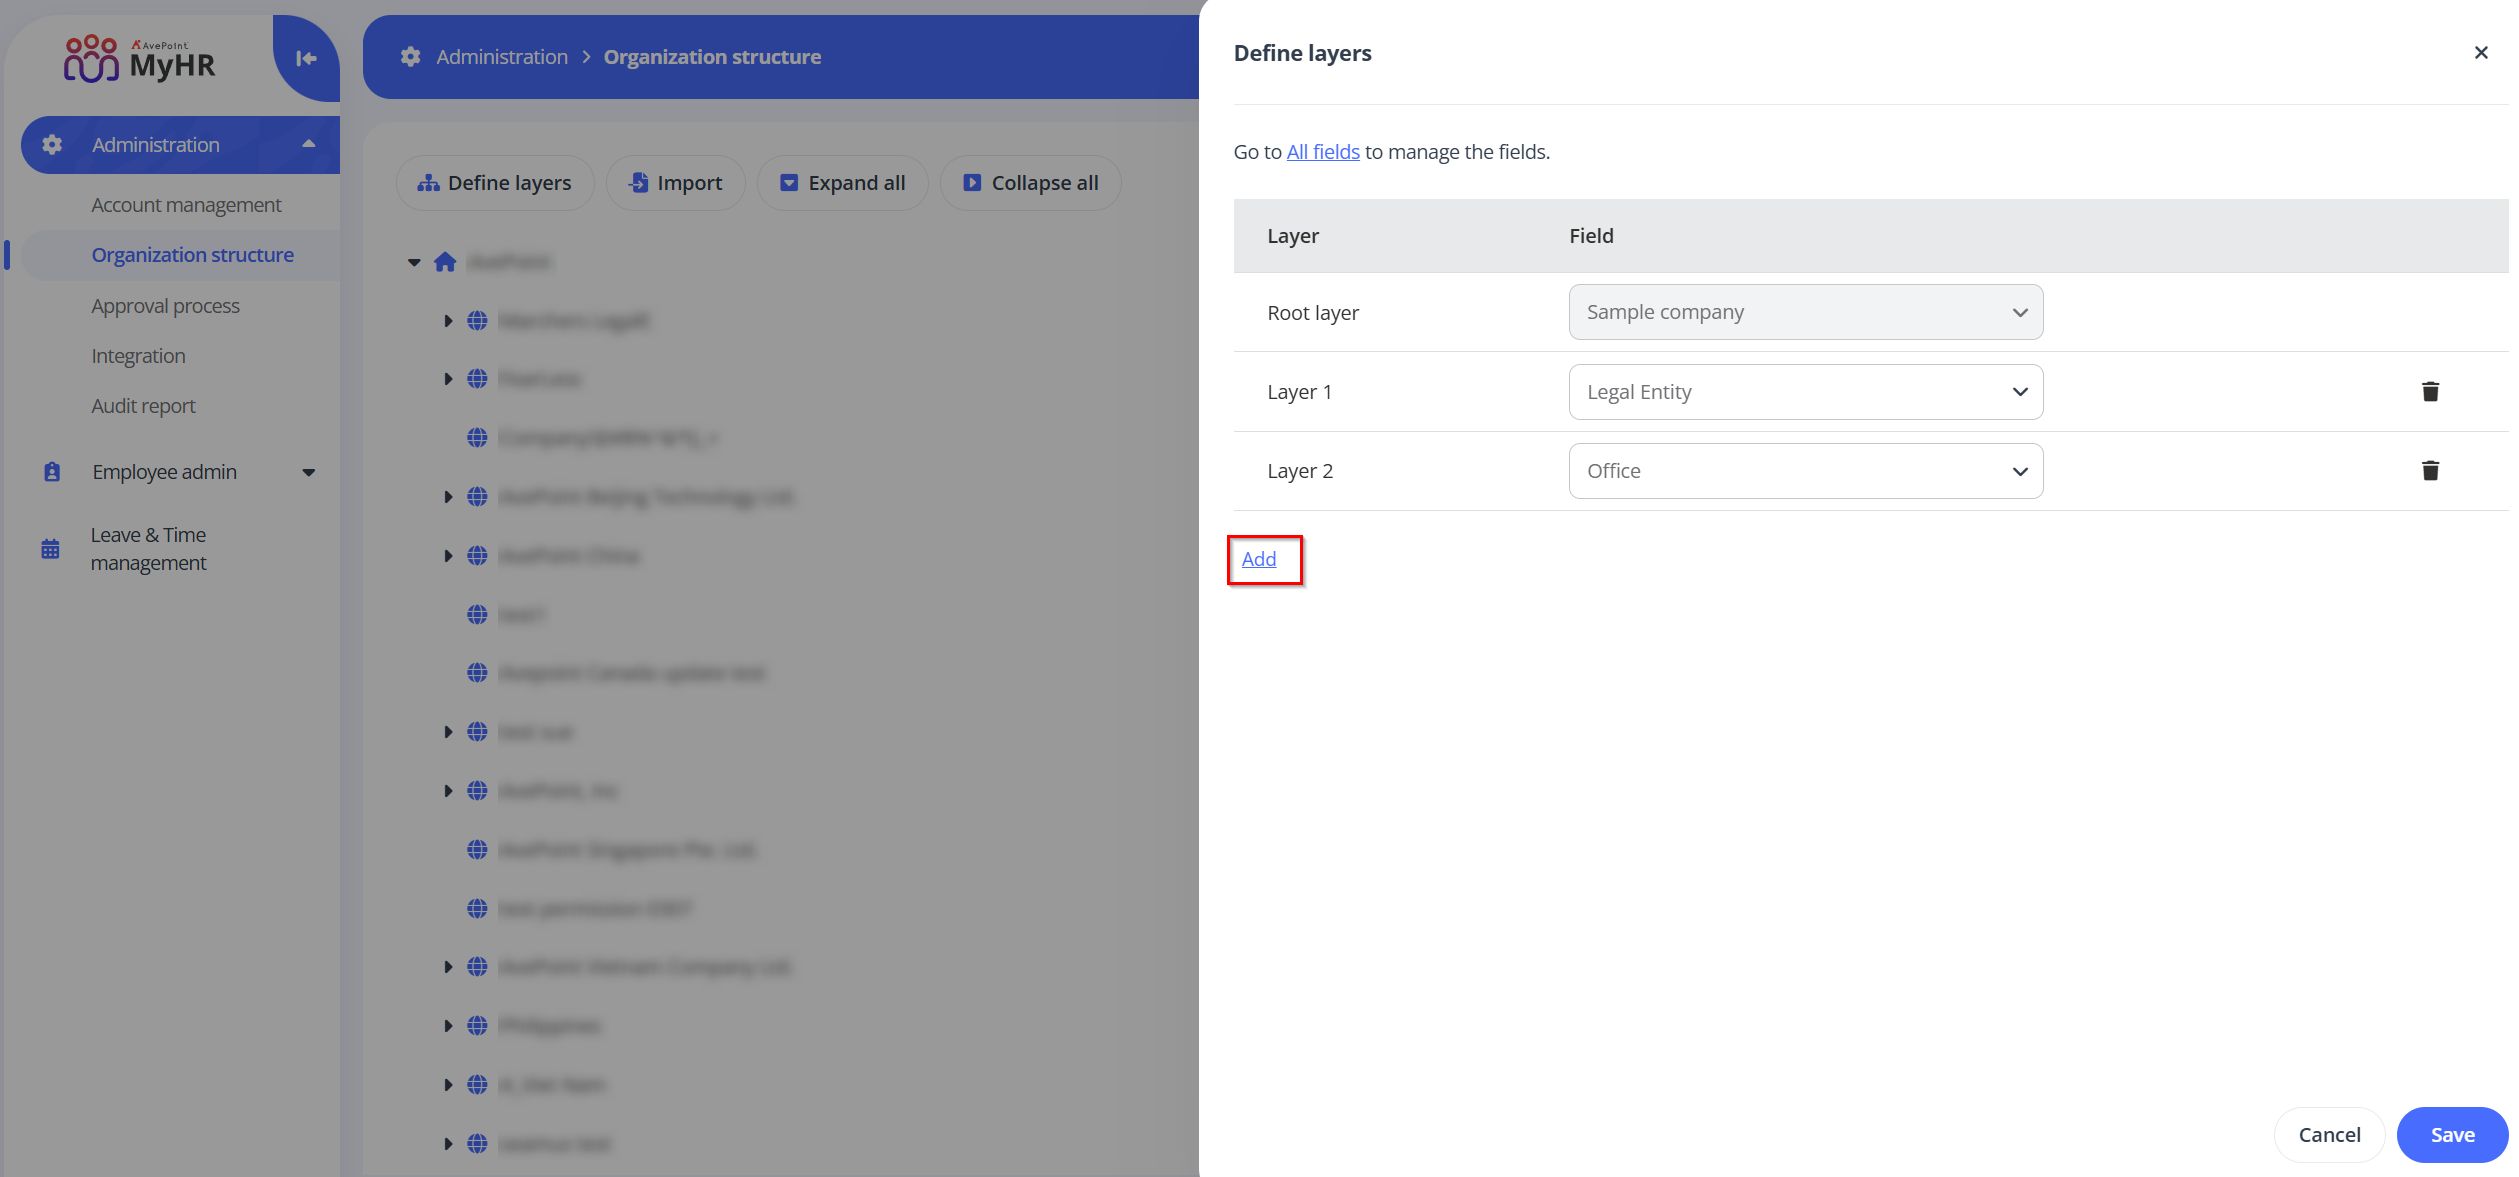 NOTE
NOTEMyHR currently supports only three fields as organization layers: legal entity, office, and department. To view all configured fields, click the All fields link in the Define layers panel. For details on how to manage fields, refer to Manage fields.
-
Click Save to save your configurations.
Add Specific Layers
After defining the overall structure, you can add the specific legal entity, office, or department layers manually. For details, refer to:
To add a layer, the corresponding layer level must have been added to the organization's layer definition. For details, refer to Define Overall Structure.
Add a Legal Entity
Follow the steps below to add a legal entity:
-
Locate the root layer, click the more actions button and then click Add legal entity.
-
In the Add legal entity panel, complete the following settings:
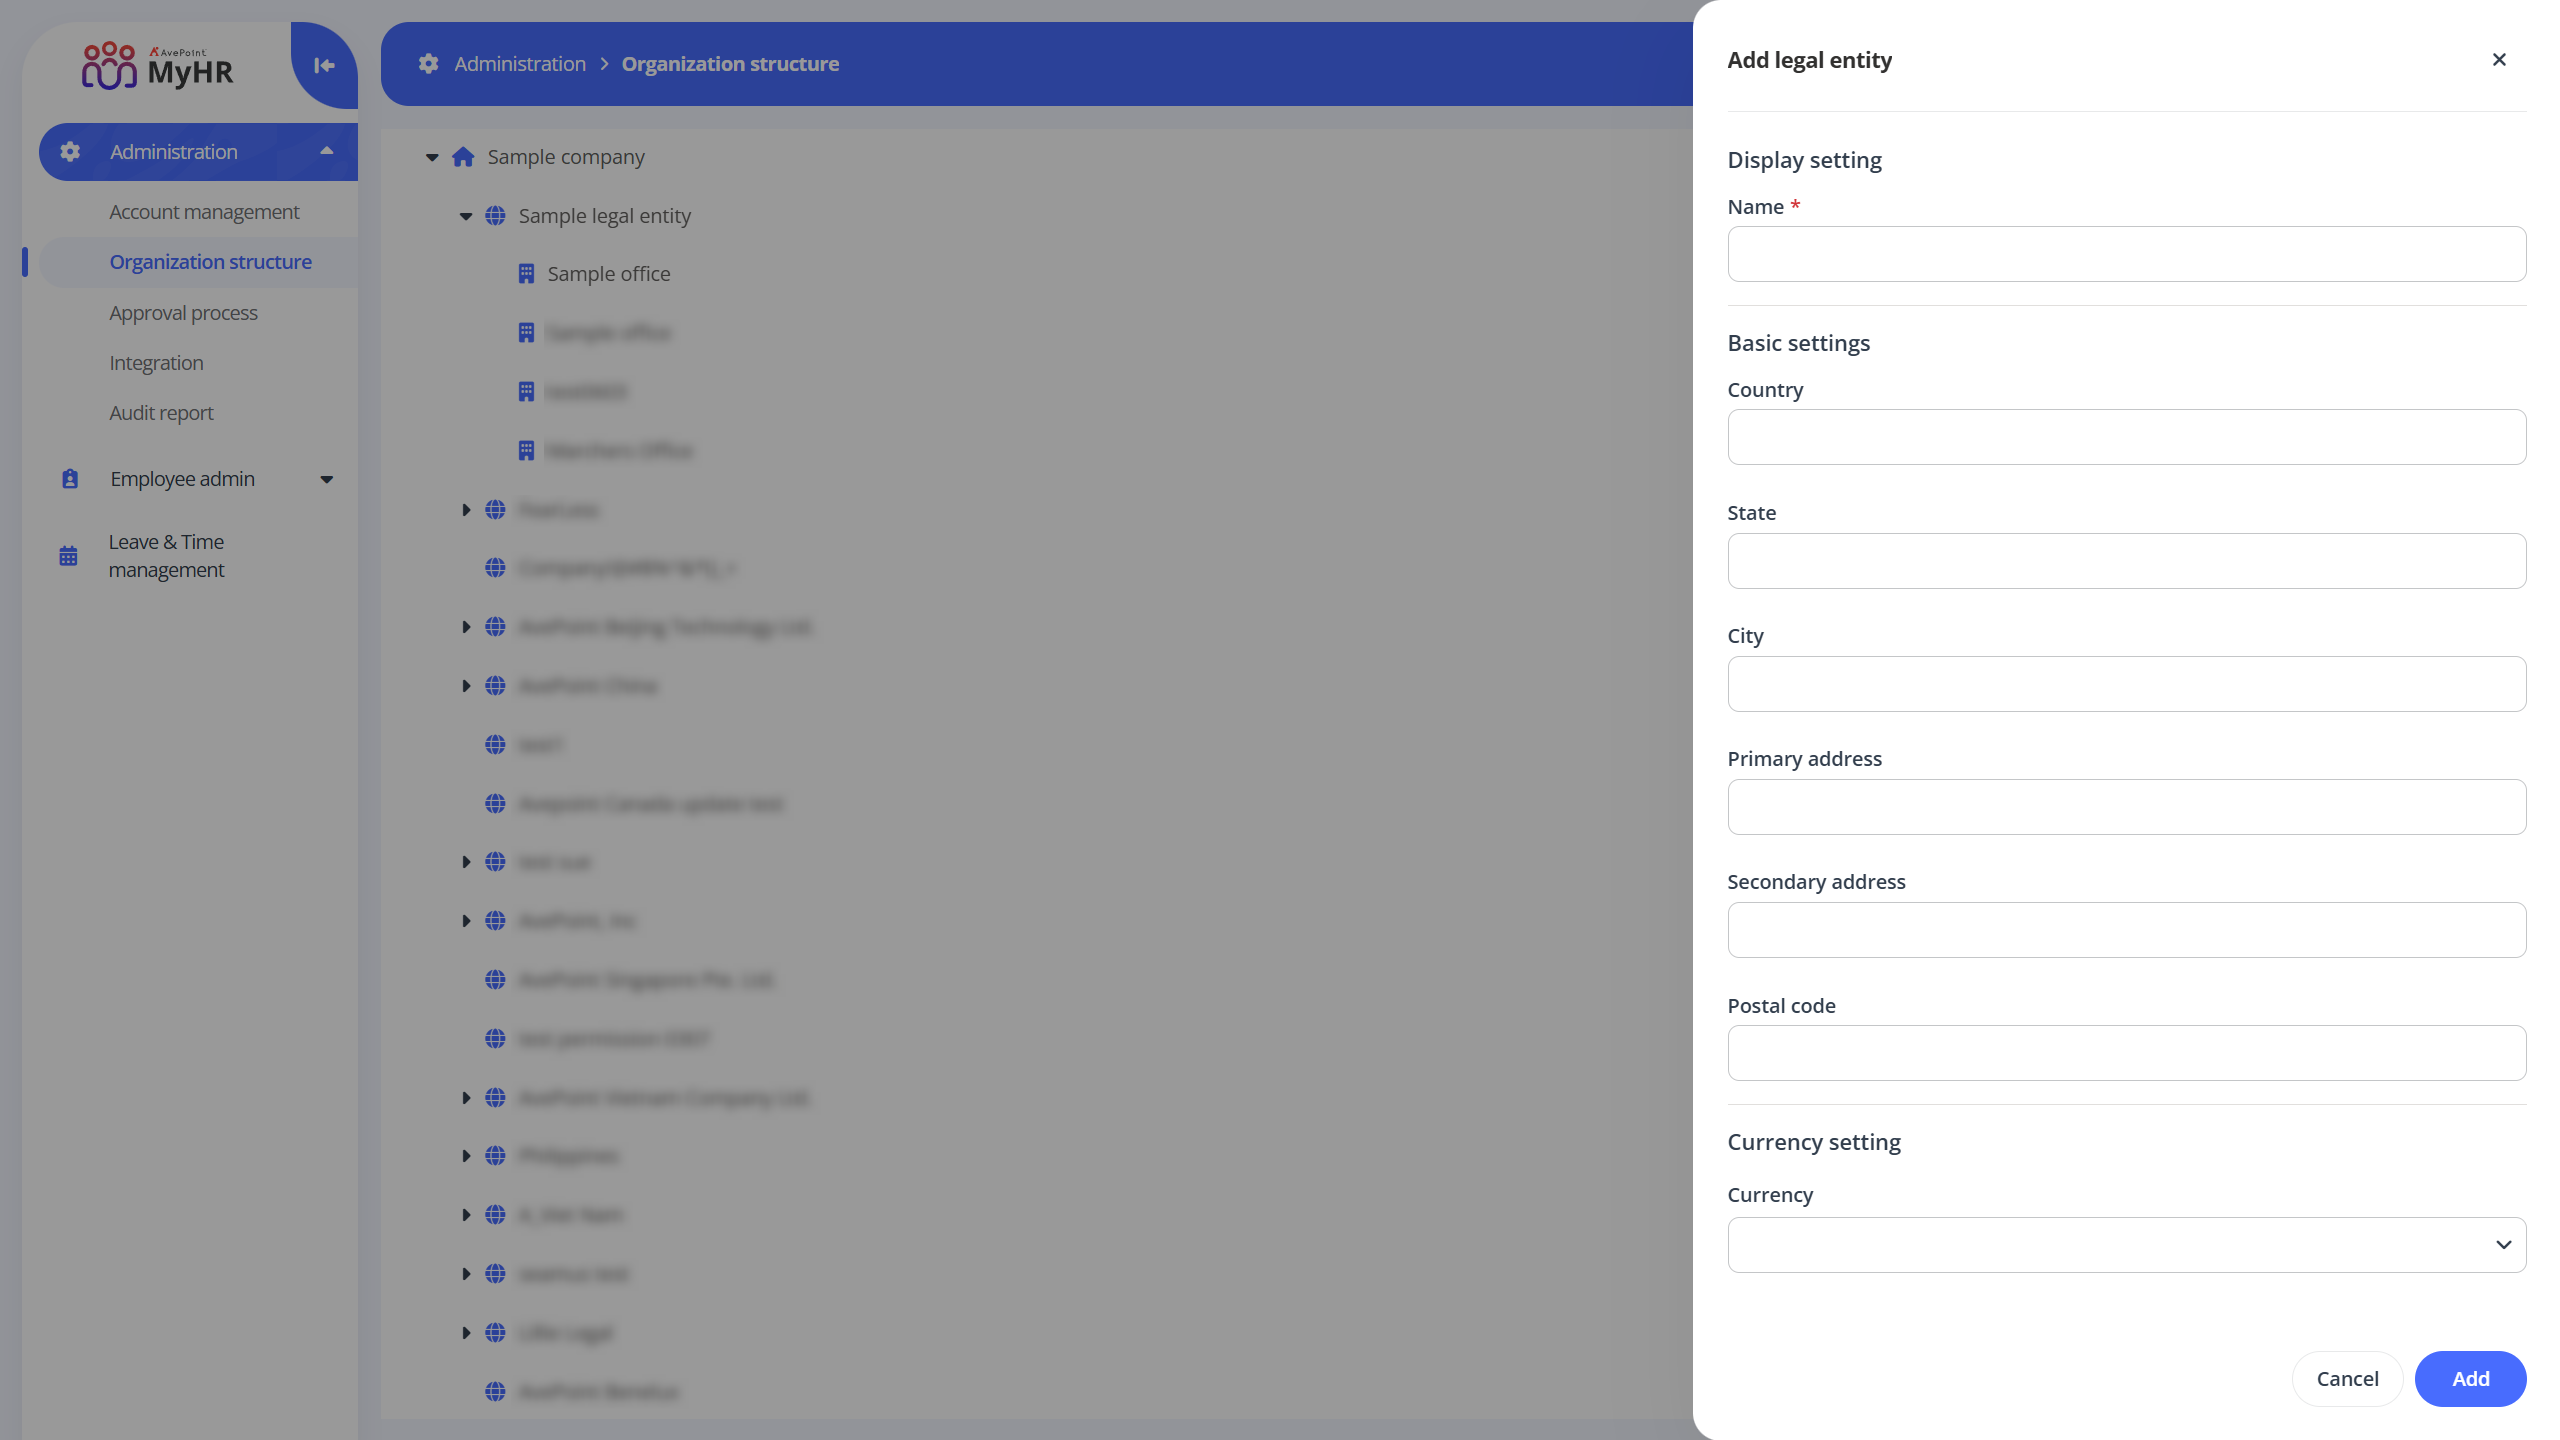
- Name – Enter a name for the legal entity.
- Basic settings – Enter the country, state, city, primary address, secondary address, and postal code for the legal entity.
- Currency – Select currencies from the drop-down list. You can use the search box to search for the currencies.
-
Click Save to save the legal entity.
Add an Office
Follow the steps below to add an office:
-
Locate the legal entity layer you want to add the office to, click the more actions button and then click Add office.
-
In the Add office panel, complete the following settings:
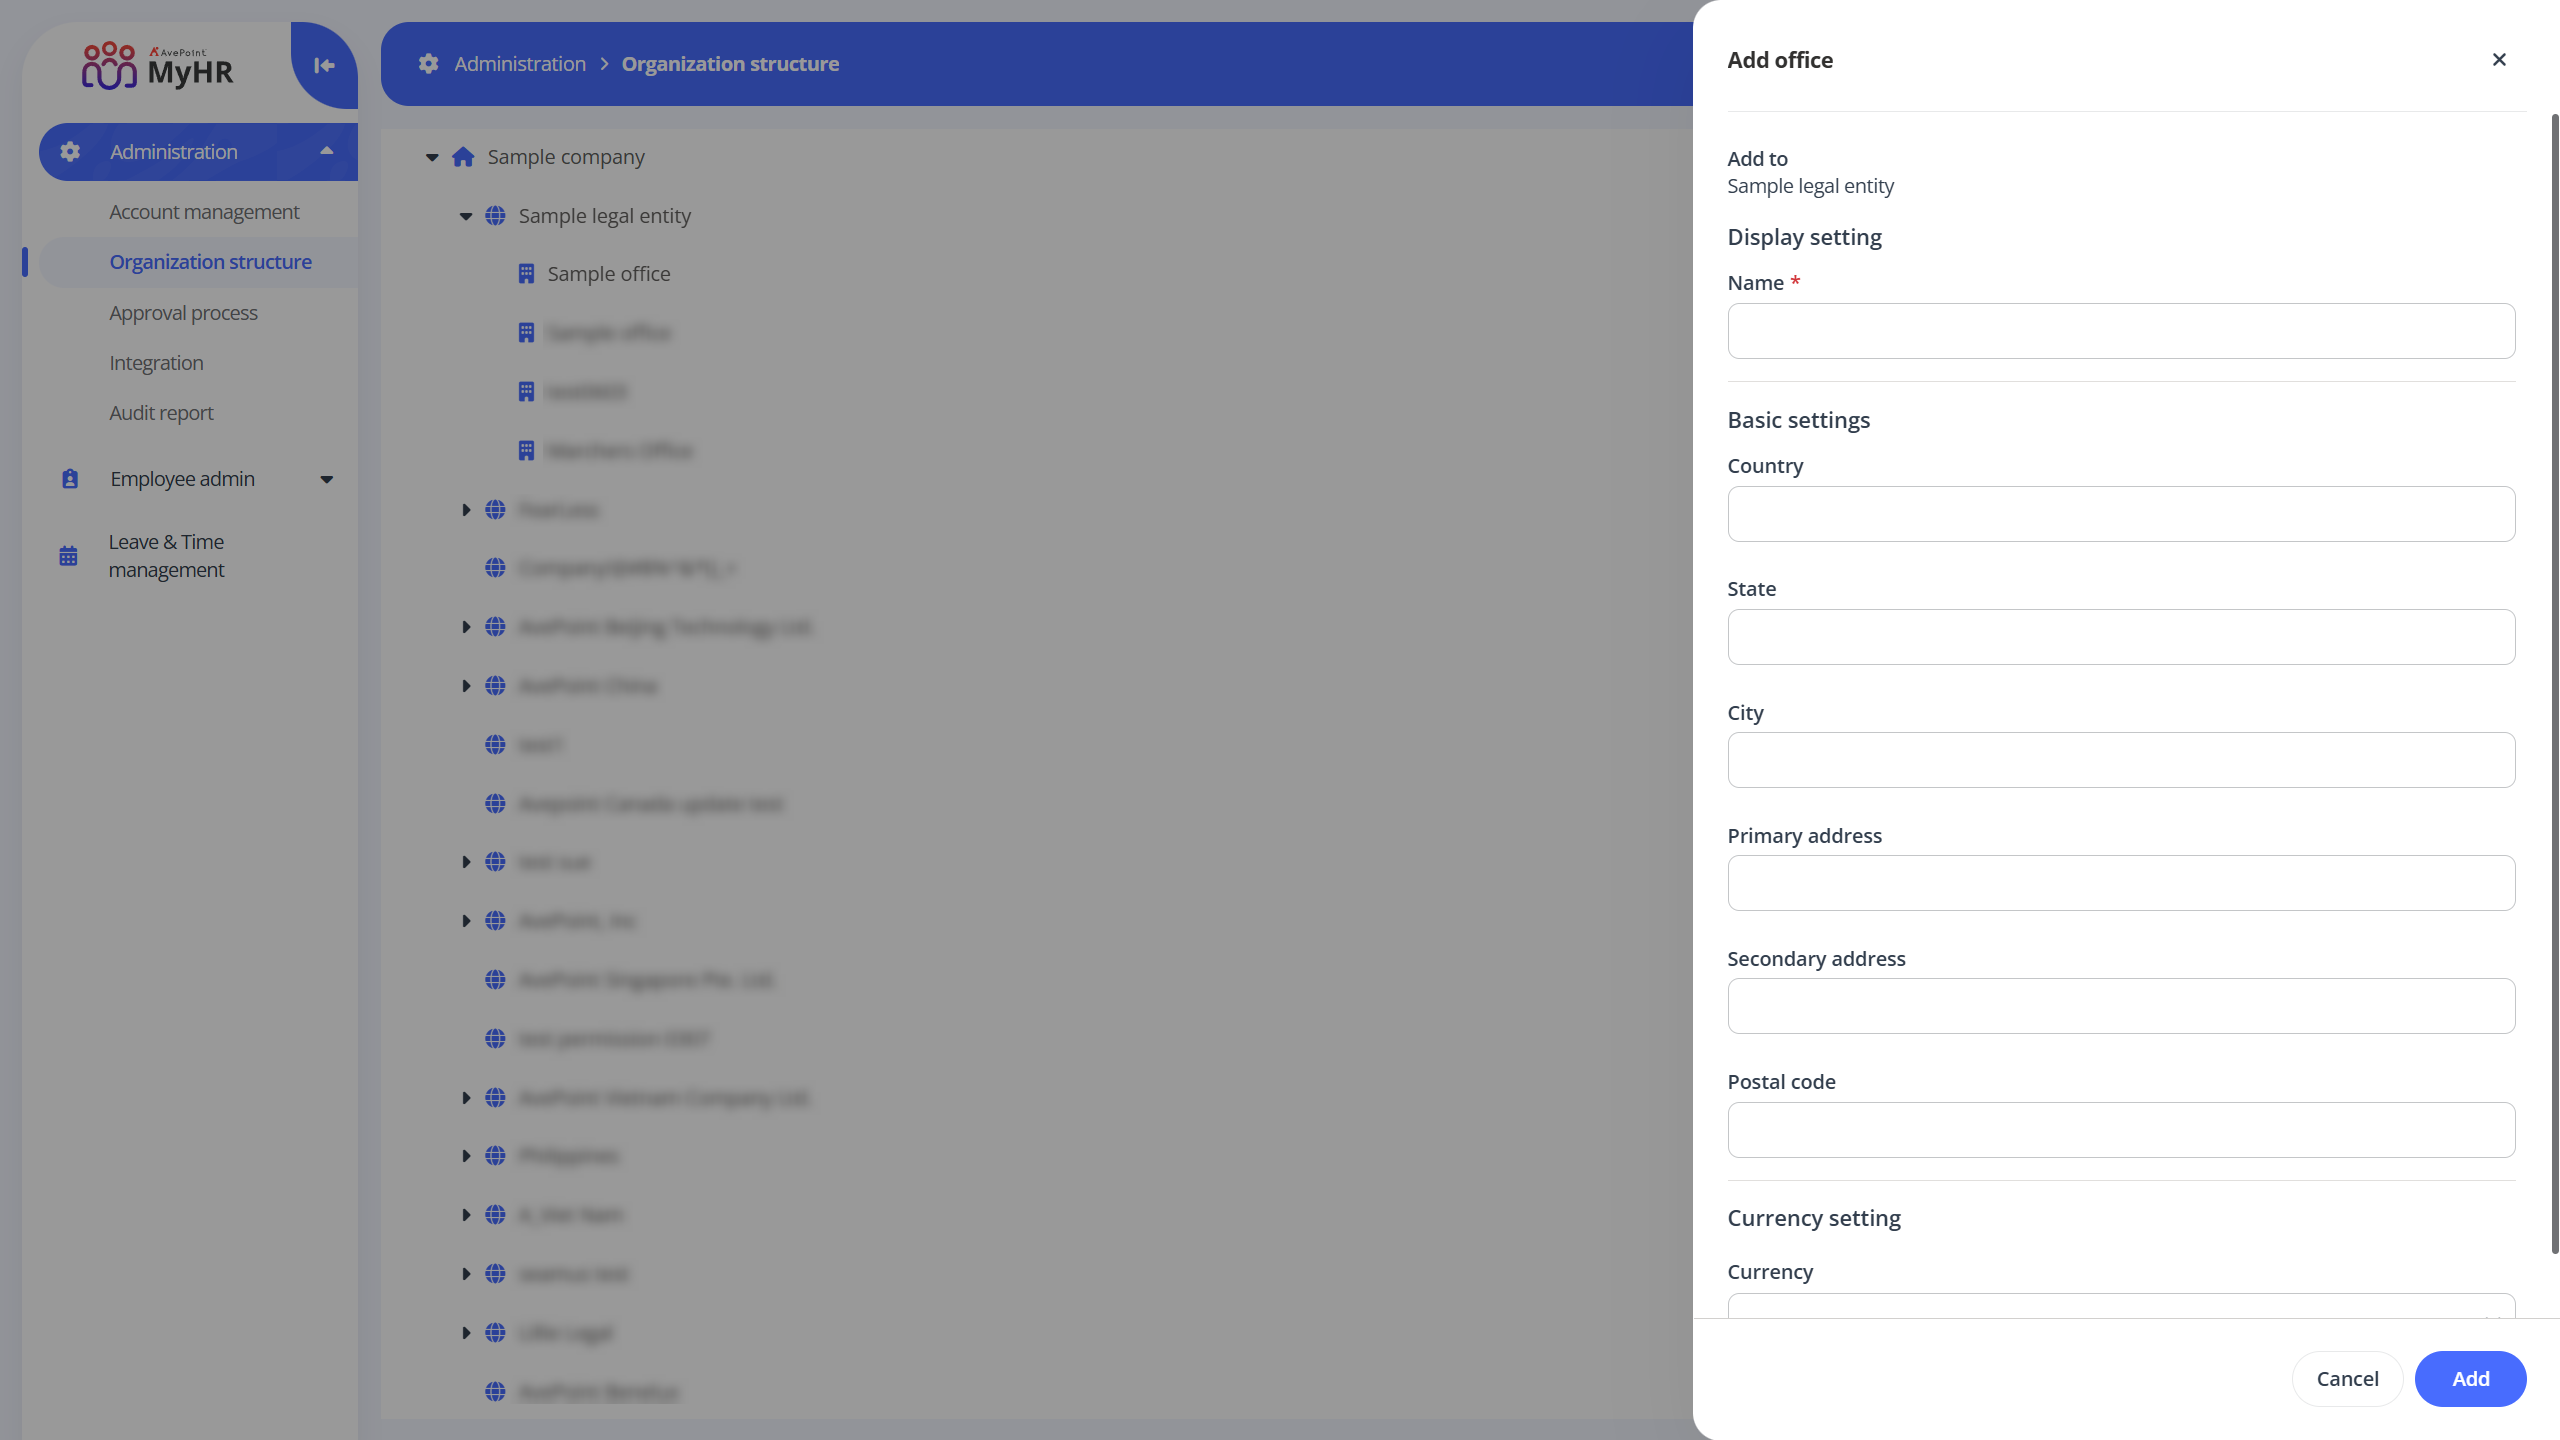
- Name – Enter a name for the office.
- Basic settings – Enter the country, state, city, primary address, secondary address, and postal code for the office.
- Currency – Select currencies from the drop-down list. You can use the search box to search for the currencies.
-
Click Save to save the office.
Add a Department
Follow the steps below to add a department:
-
Locate the office layer you want to add the department to, click the more actions button and then click Add office.
-
In the Add office panel, enter a name and description for the office. The description is optional.
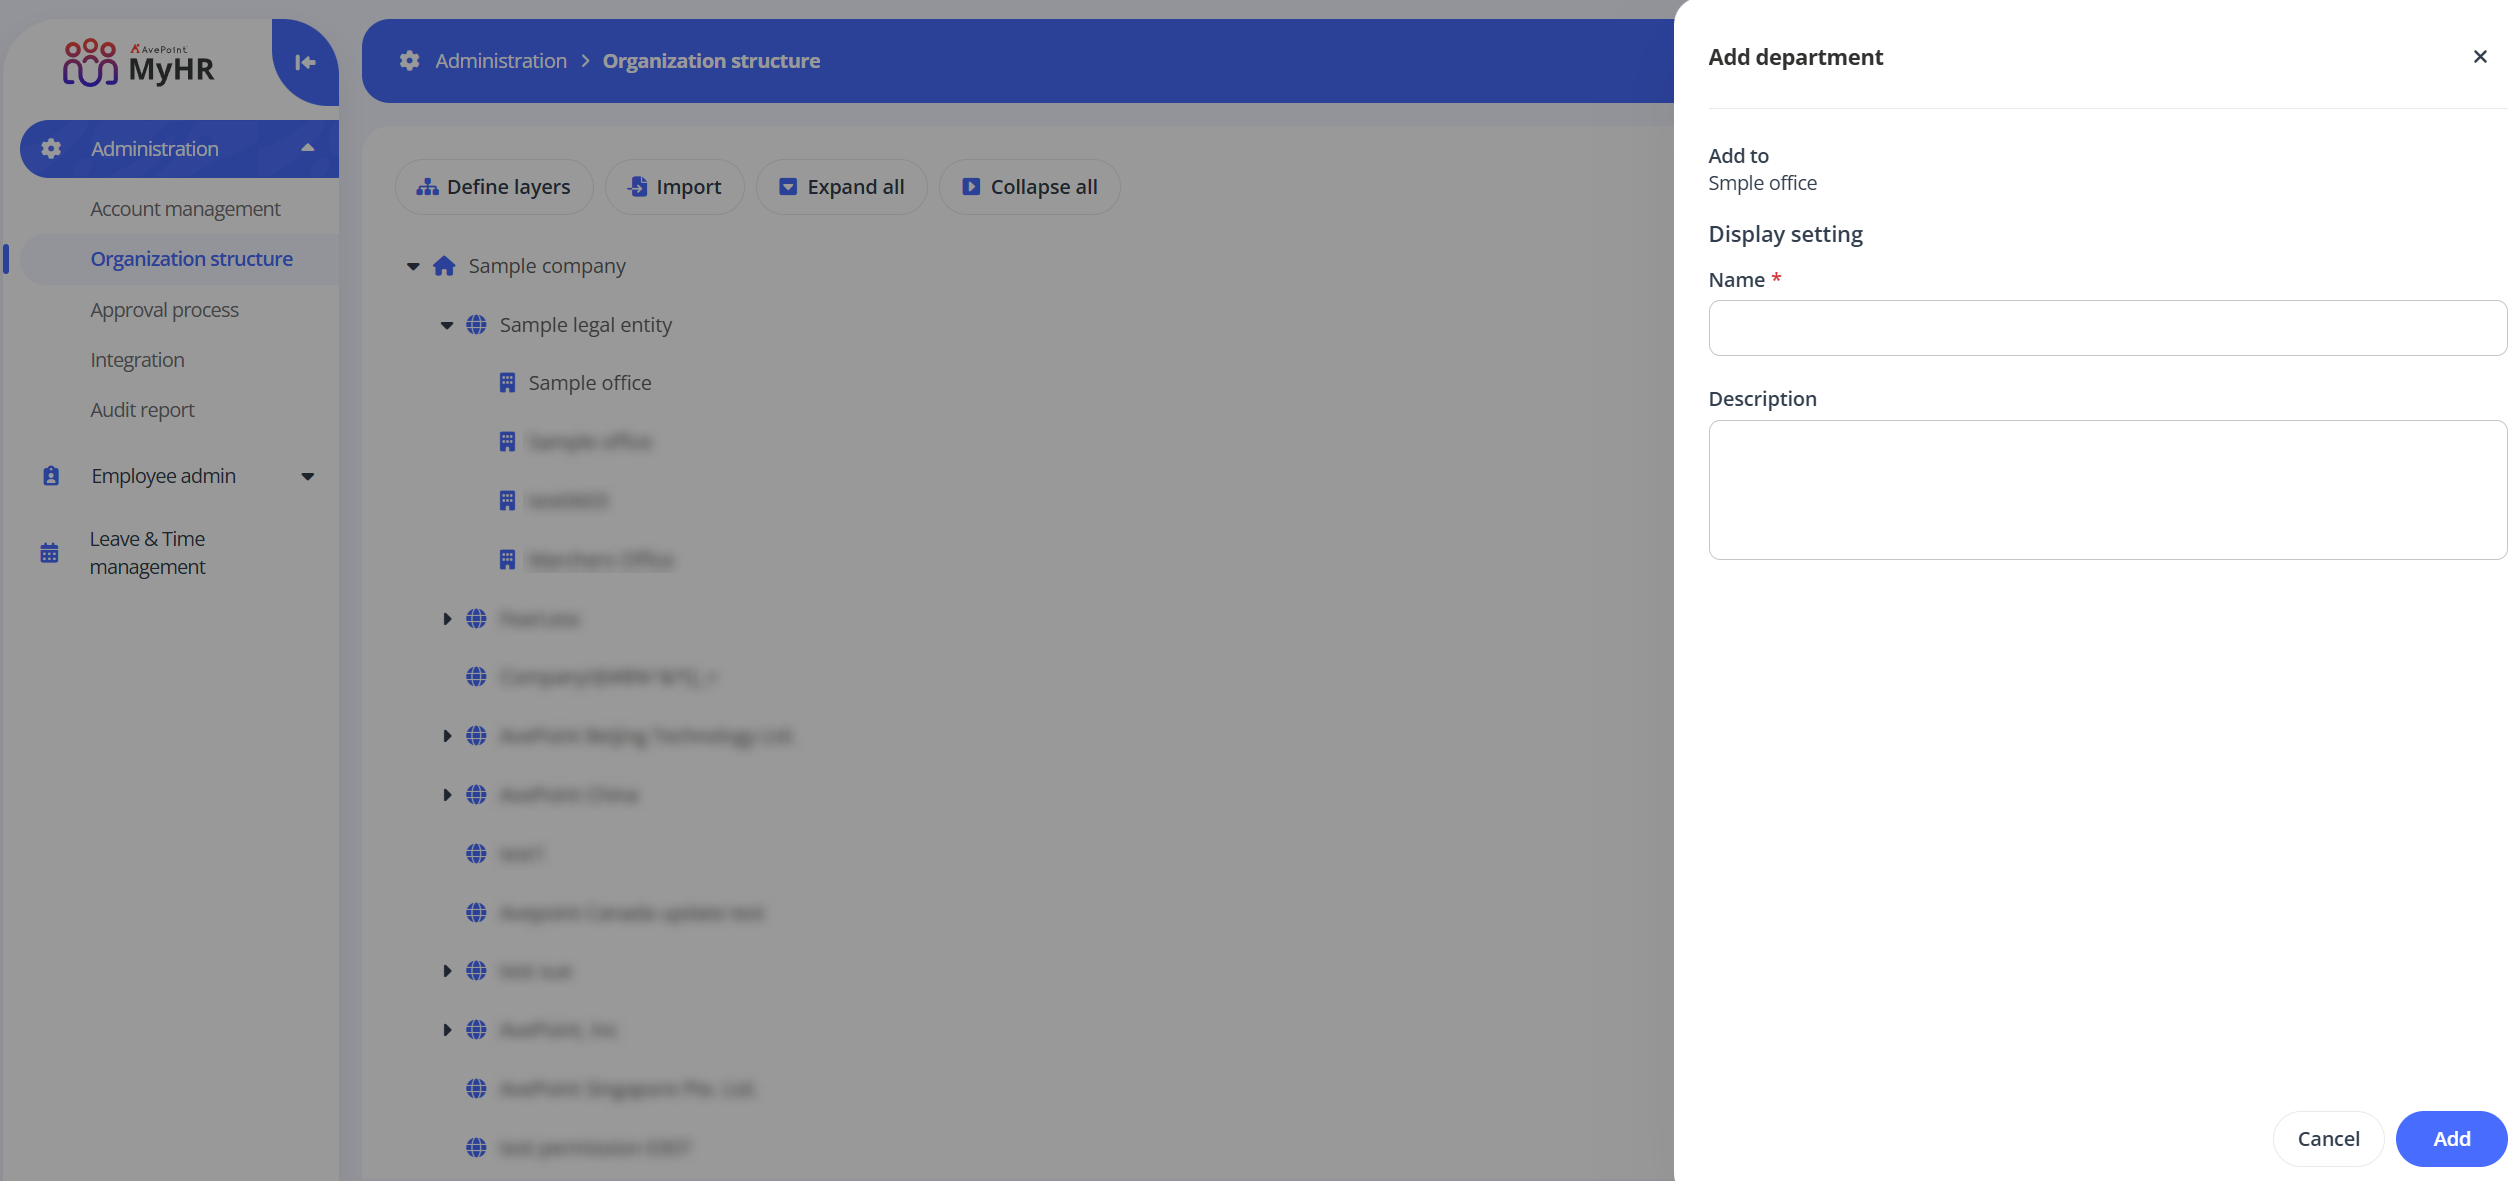
-
Click Save to save the office.